We removed the forward deck after discovering that the wood under the fibreglass decking surface was wet and rotting in places, and was the cause of some of the leaks from the topside.
When that was done, we discovered ‘dry rot’ on the sheer boards. The sheer boards are a part of the overall framing of the boat. To resolve this problem, we weighed the pros and cons of a few different ways of fixing them, such as carving out the rot, filling it and the holes from the screws that held the deck on with epoxy, sanding it all and epoxying the pieces before replacing them. That would have taken a long time and been quite finicky. Instead, we decided to rebuild the four forward sheer boards with new mahogany lumber. It was a more efficient approach to solving the problem.
The sheer boards are beveled to accommodate the changing angle of the hull. Rebuilding them required figuring out how to cut a progressive bevel, also called a ‘rolling bevel.’
We’ve been watching a fantastic YouTube channel called “Tips from a Shipwright”, and have fallen in love with Louis Sauzedde, the shipwright, whose knowledge and expertise is accessible and inspiring. In one episode, he shows how to laminate wood battens cut with progressive bevels. He shows how he pushes the wood through a ship’s saw, which is a huge band saw with an arbour that tilts the blade, while a helper rotates the wheel that tilts the blade by degrees, thus making a progressive, or rolling, bevel. https://www.youtube.com/watch?v=-t_w38mS9bo
He also has a video on how to pattern an existing piece of wood, record the bevel changes on the pattern, transfer it to a new piece of wood and cut a progressive bevel on a standard band saw. https://www.youtube.com/watch?v=I4Wg21V5PnY
Neil’s dad happens to have a band saw with a tilting arbour, so we decided to follow Lou’s technique and make patterns from the existing sheer boards, mark out the changing bevel degrees on the pattern, and use Neil’s dad’s band saw to cut them.
After the sheer boards were all cut, we sanded them down and planed the bevels by hand to make them nice and flat. We dry fit them to the hull to check that they fit, and I’m happy to report that they did.
We’re pretty chuffed over this accomplishment. We’re learning so much! We’re also learning boat anatomy and terminology thanks to lots of helpful info online, and to a couple of books we got from the library. For anyone who’s interested, here are the main resources we keep turning to:
•Tips from a Shipwright: https://www.youtube.com/channel/UClPa3pmqKwApysaYi7B7Nlg
•”The Big Book of Wooden Boat Restoration” by Thomas Larsson
•”Boatbuilding Manual, Fifth Edition” by Robert M. Stewart.
When we’ve remembered to, we’ve taken lots of photos and video trying to record the process as we go, and we may put something together at some point, when we get bigger, faster, stronger Internet.

Carving away rot in a sheer board 
Sheer board with epoxy filler 
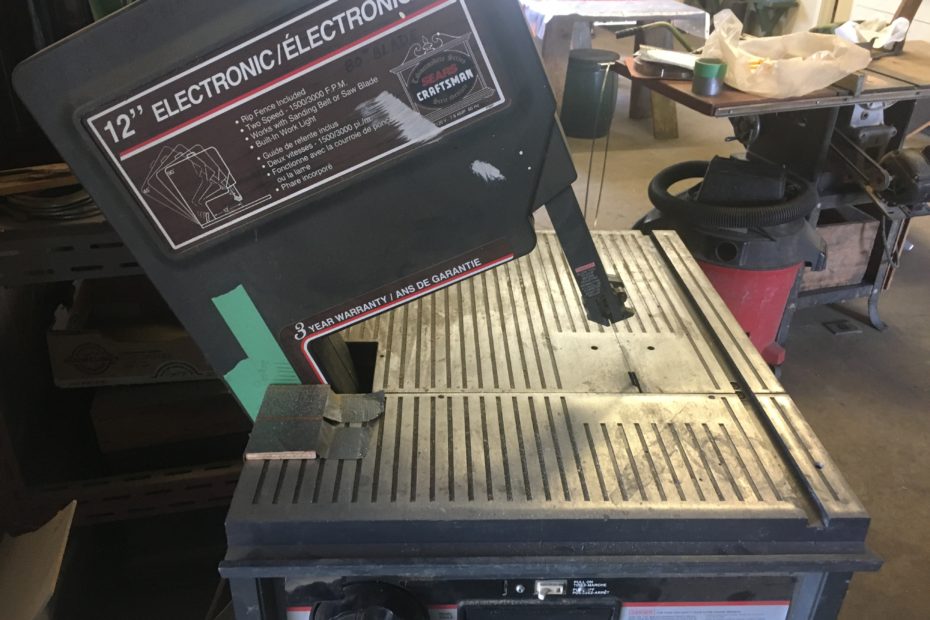
Neil’s dad’s tilting head bandsaw 

Rolling bevel test piece